
You finish the roofline. Every bulb is straight. The spacing looks perfect. You plug everything in and admire the house from the driveway.
Two days later, the wind picked up.
Now one section is hanging like a loose shoelace, three bulbs are pointing toward the sky, and an entire corner has decided it no longer wants to participate.
What happened?
Usually, the problem isn’t the lights. It’s how they were attached.
During professional Christmas light installation, the installers usually assess the roof line and attachment surface prior to installing the first string of lights. The critical point is that securing Christmas lights on the roof is not about using extra clips but rather about finding the right way to attach them to the roof.
One issue we see repeatedly is homeowners treating every roofline as if it were the same. It isn’t.
A gutter edge, shingle line, fascia board, and steep gable can require completely different approaches. Here are the most common reasons lights come loose.
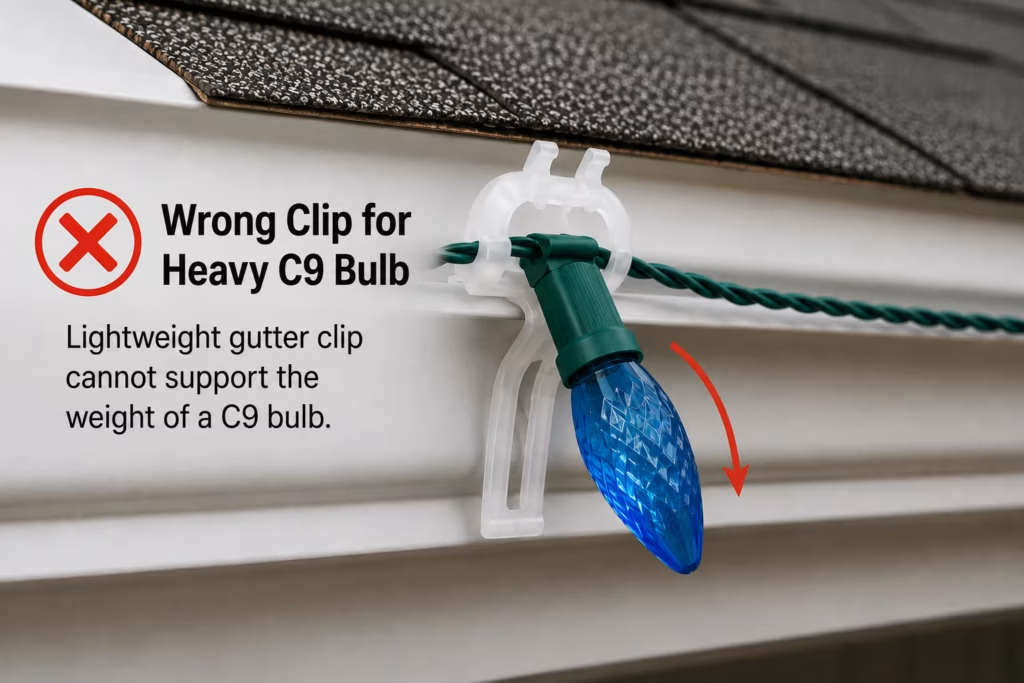
A clip can look secure while actually being a poor match for the surface or light strand.
A gutter clip designed for one application may not hold a heavier C9 bulb securely. A shingle-compatible clip may be inappropriate for another roof construction. The clip isn’t necessarily the problem; the attachment point may be.
Long unsupported sections can sag under their own weight and move significantly in wind.
That movement transfers force to neighboring clips. Eventually, one clip releases, then another, and suddenly a whole section is dangling.
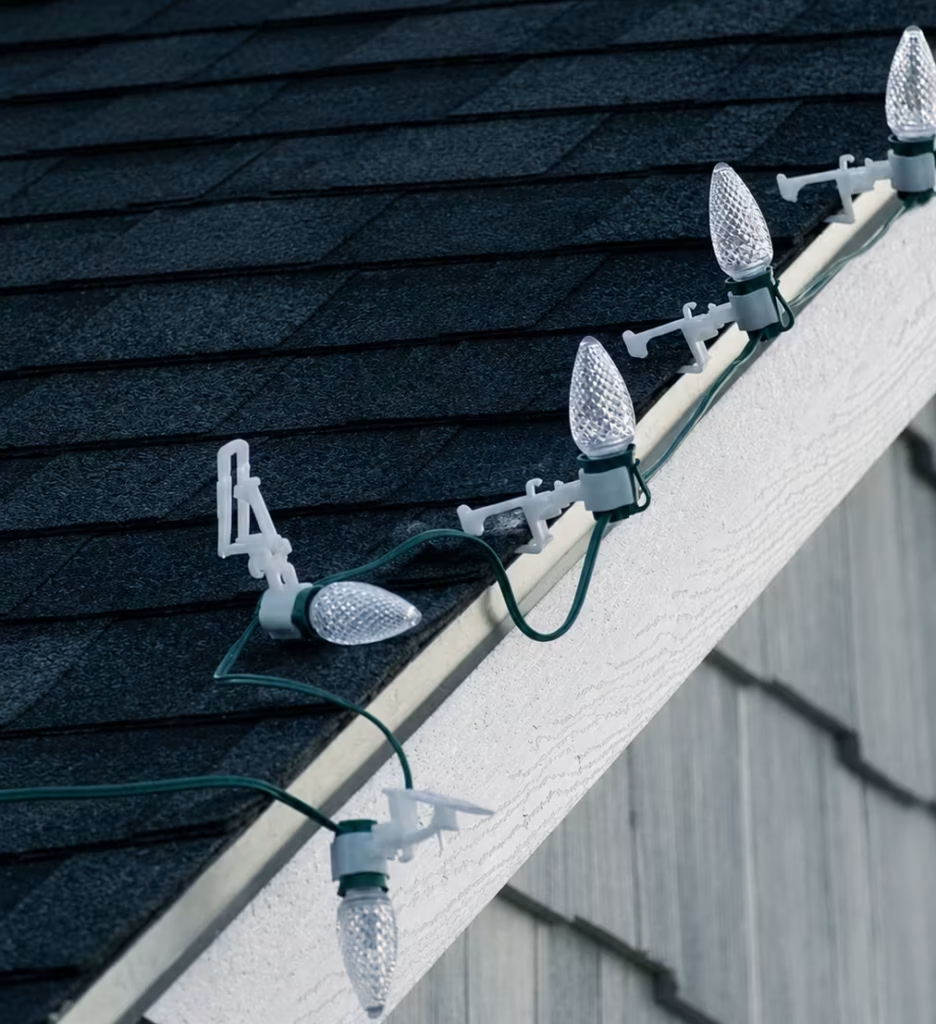
The wind doesn’t care how good your display looked at 4 p.m.
Wind creates repeated pulling and sideways movement. Rain makes surfaces wet. Snow and ice add weight. Freeze-thaw cycles can change how materials behave.
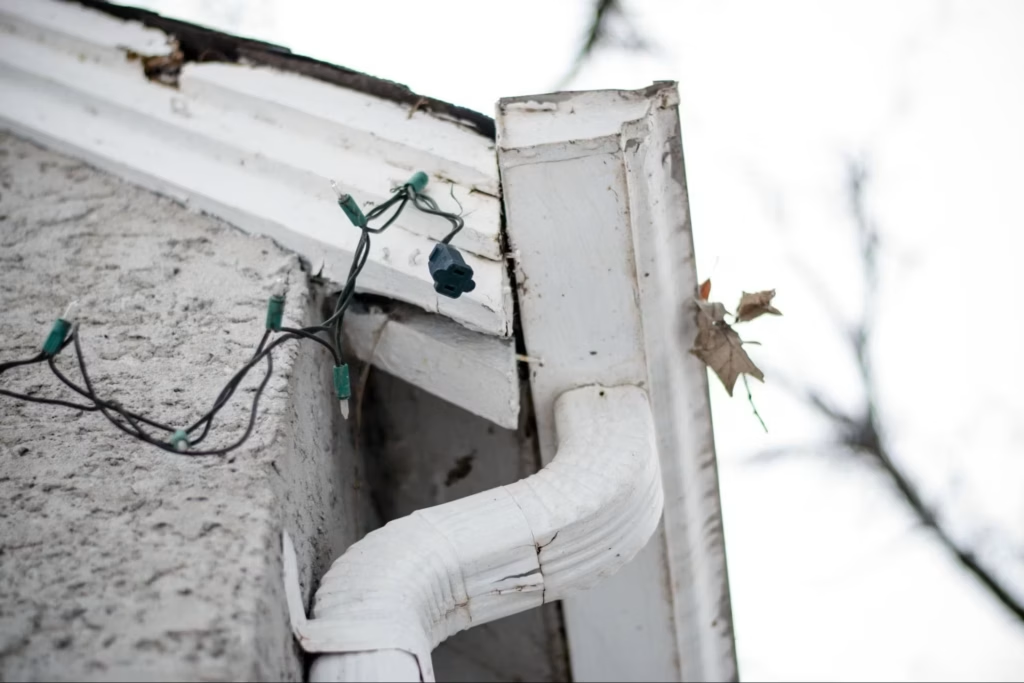
Some mounting methods simply aren’t suited to particular roofing or exterior materials.
Before installing, identify whether you’re working around gutters, shingles, fascia, eaves, gables, or another surface. What works on one roof may be completely wrong for another.
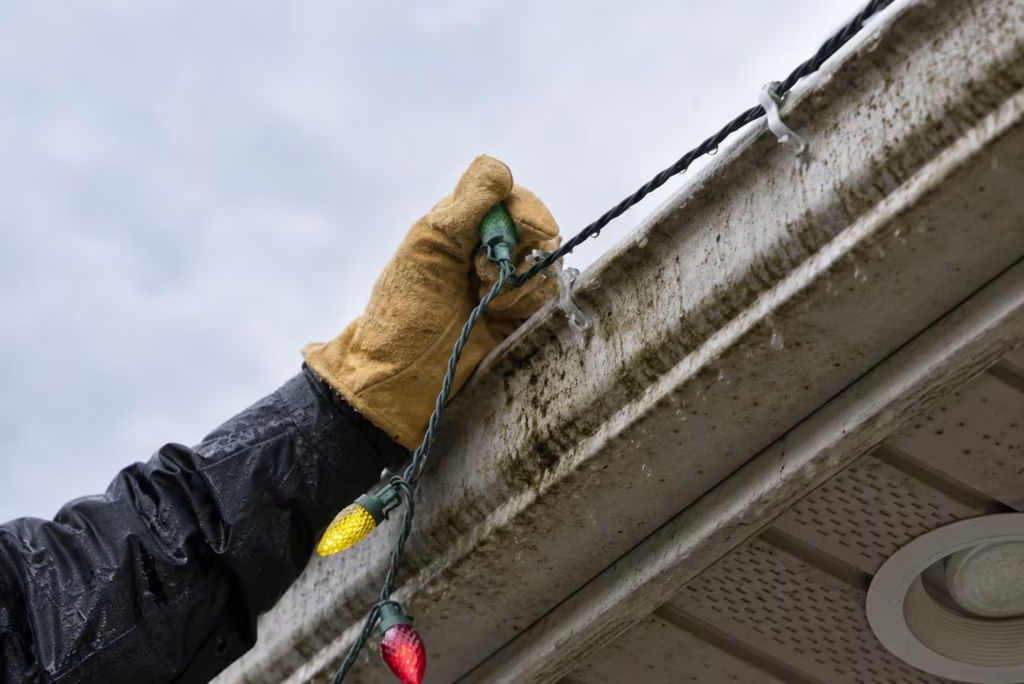
Loose cable catches wind surprisingly well.
A dangling loop can act like a tiny sail, pulling on the nearest light clip. Excessive slack can also make a clean roofline look uneven.
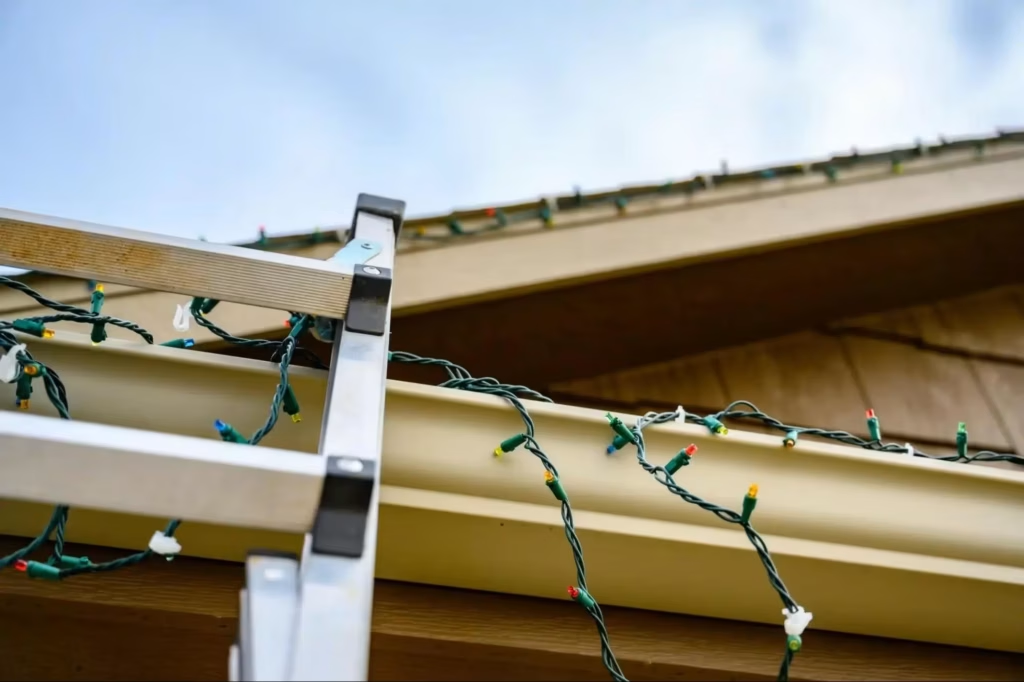
There is no universal Christmas light clip that works perfectly everywhere.
Common options include:
The right choice depends on the:
Consideration | Why It Matters |
Roof design | Determines where lights can be safely attached |
Gutter type | Different profiles may require different clips |
Light strand | Bulb size and wire construction affect fit |
Mounting surface | Clips must be compatible with the material |
Weather exposure | Exposed edges may experience greater wind forces |
Manufacturer guidance | Installation instructions can specify approved methods |
The best clip is the one designed for the surface and lighting you’re actually working with.
Spacing affects both appearance and stability.
Imagine a long strand supported at only a handful of points. It may look acceptable when freshly installed, but unsupported sections can sag, swing, and catch wind.
Consistent attachment spacing helps distribute the strand’s weight and movement.
There isn’t one universal measurement that works for every Holiday light installation. Appropriate spacing depends on:
A common Christmas light Hanging Mistake is adding clips only where the lights visibly sag. A better approach is planning attachment points before installation so the strand has consistent support from beginning to end.
Many homeowners buy the lights first and figure out the installation afterward.
A better process is:
Good Christmas outdoor light decorating is partly a design exercise and partly a mounting exercise.
You aren’t simply putting bulbs on a house. You’re creating a system that needs to stay aligned while exposed to outdoor conditions for weeks.
You don’t need to climb onto the roof every time you want to inspect the display.
From the ground, look for:
If something looks wrong, don’t automatically climb up to fix it.
A roof inspection isn’t worth a ladder accident. If safe access isn’t available, consider having a qualified professional handle the repair.
Avoid shortcuts that can damage the roof, lights, or your health.
| Avoid | Why |
|---|---|
| Nails through roofing | Can create unnecessary penetrations |
| Staples through wires | Can damage electrical insulation |
| Improvised metal fasteners | May damage lights or surfaces |
| Damaged clips | May fail under weather stress |
| Damaged light strings | Create electrical and reliability concerns |
| Overloaded electrical connections | Can create unsafe conditions |
| Poorly positioned ladders | Increases fall risk |
| Wet or icy roof access | Creates a serious slip hazard |
| Bypassing GFCI protection | Removes an important electrical safety measure |
| Improvised connections | May violate product or electrical safety requirements |
Use outdoor-rated lighting and electrical equipment as intended. Follow manufacturer instructions for connections and loads, and never use damaged equipment.
If a project requires difficult roof access or electrical work beyond your experience, qualified professional assistance is the safer choice.
Don’t simply put the same section back up in exactly the same way.
Inspect the clip, mounting point, strand, and nearby cable tension. Something may have shifted or pulled against the attachment.
Look for:
Stop reinstalling them repeatedly without changing the approach.
Reconsider the:
If fixing the installation requires unsafe roof access, get professional assistance instead of repeatedly taking the risk yourself.
Save this before installation day:
A secure and Reliable Christmas light installation depends on proper attachment methods, spacing, controlled tension, weather-resistant equipment, and regular inspection. DIY can work for simple displays, while tall or complex rooflines may require professionals. When the planning is right, the finished display looks clean, secure, and effortless.
Use clips compatible with the roof surface and lights, maintain appropriate spacing, control loose wire, and plan for local weather conditions.
The best clips are those designed for your specific mounting surface and lighting product, following both manufacturers' installation recommendations.
Avoid staples through light wires or unnecessary roofing penetrations; use purpose-designed mounting hardware appropriate for the surface instead.
They can, if installed improperly; avoid unnecessary penetration or forcing hardware beneath shingles, and use shingle-compatible products as directed.
Use appropriate mounting hardware, controlled spacing, and weather-rated equipment, secure connections, and inspect for loose sections before and after severe weather when safe to do so.
Share your thoughts below and let us know how we can help with your Christmas light installation project.
Get fast, reliable help with your Christmas light installation, featuring professional setup, secure installation, and expert support from start to finish.
