

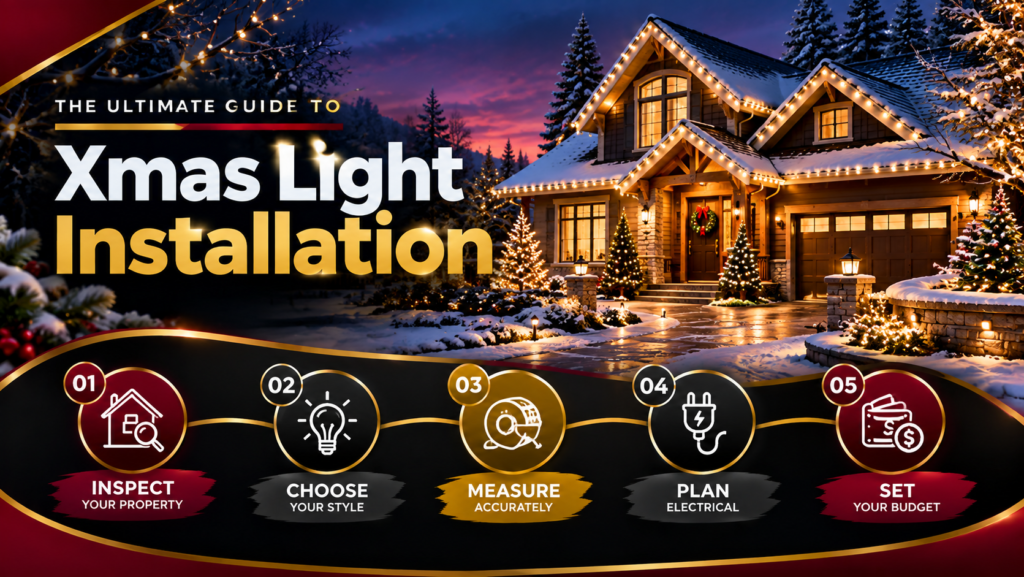
Xmas Light Installation is much easier when you plan the property before buying lights or climbing a ladder.
In our experience, the best approach is to inspect the property, choose the areas to decorate, measure everything, select the right lights, plan electrical connections, set a budget, and then schedule installation.
A simple plan can help you avoid buying too many lights, running short of materials, or discovering electrical and access problems halfway through the project.
| Planning Step | What to Consider |
|---|---|
| Property Inspection | Rooflines, trees, outlets, access |
| Lighting Design | Style, color, focal points |
| Measurements | Roofline, windows, landscaping |
| Light Selection | LED, bulb type, spacing |
| Electrical Planning | Loads, outlets, connections |
| Budget | Lights, clips, cords, labor |
| Installation | Safety and access |
| Maintenance | Repairs and replacement lights |
| Removal | Timing and storage |
Before beginning a Christmas light installation, we typically work through each step instead of purchasing products first.
This keeps the project organized and makes it easier to estimate the actual quantity of lights and accessories required.
A property inspection should be the first step in your lighting plan.
Walk around the house and identify:
Before choosing the lighting layout, we evaluate which architectural areas naturally create strong lines and which landscaping features can provide depth.
Do not begin by shopping.
Begin by deciding what kind of display you want.
The same house can look completely different depending on the lighting style.
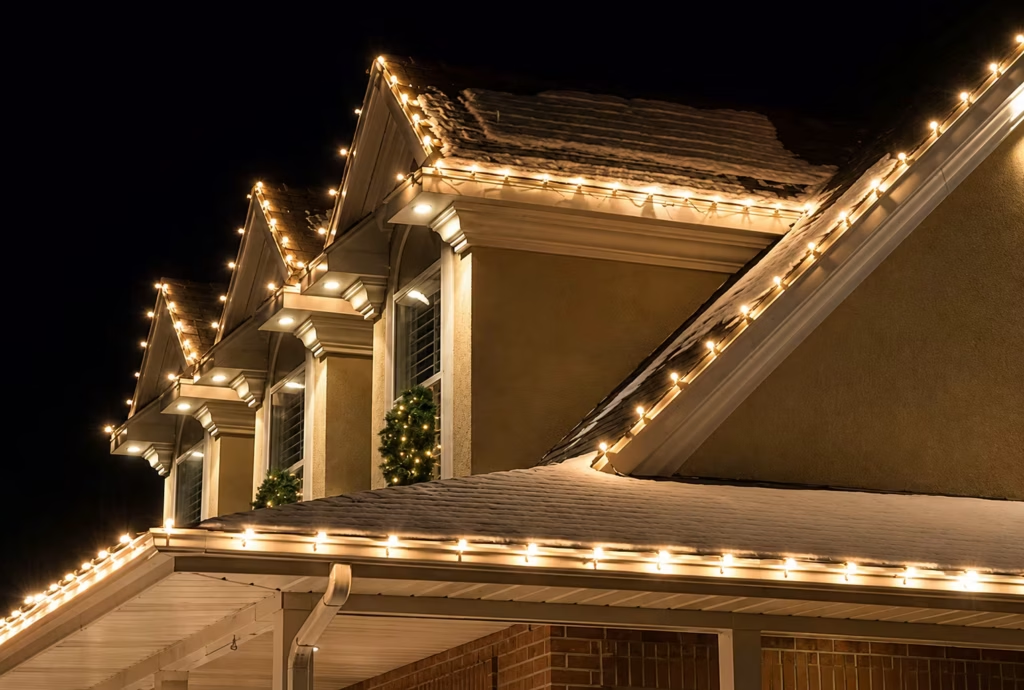
Usually includes:
This style works well when you want the architecture itself to remain the focus.
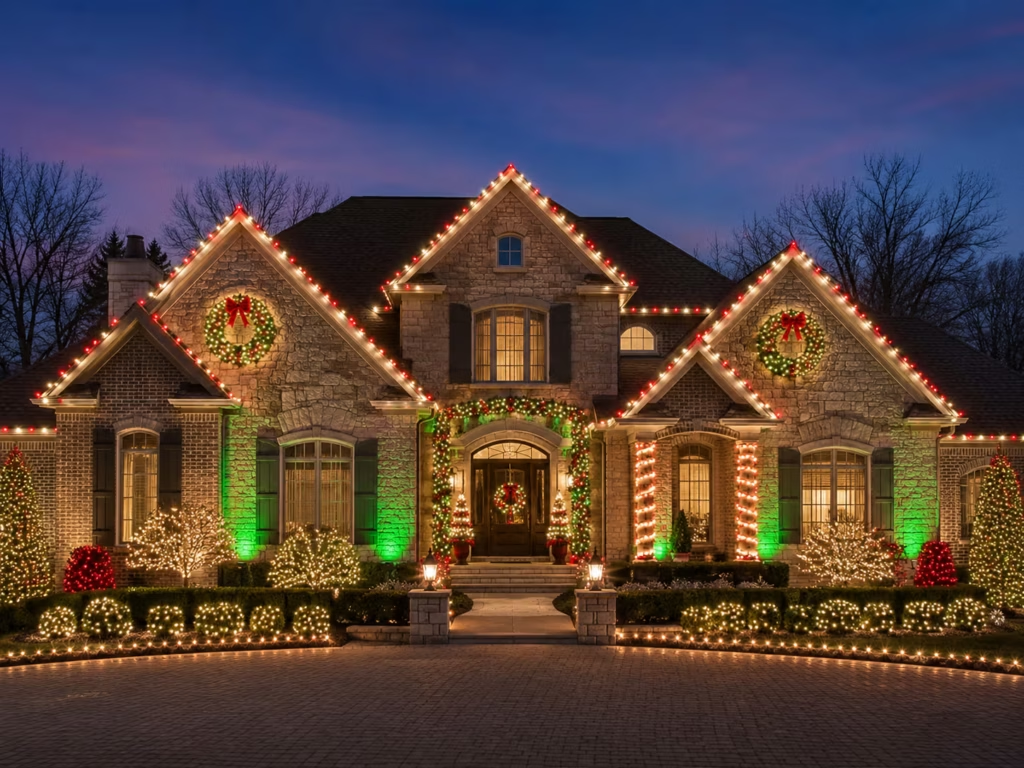
May include:
The key is repeating colors instead of introducing a new color in every section.
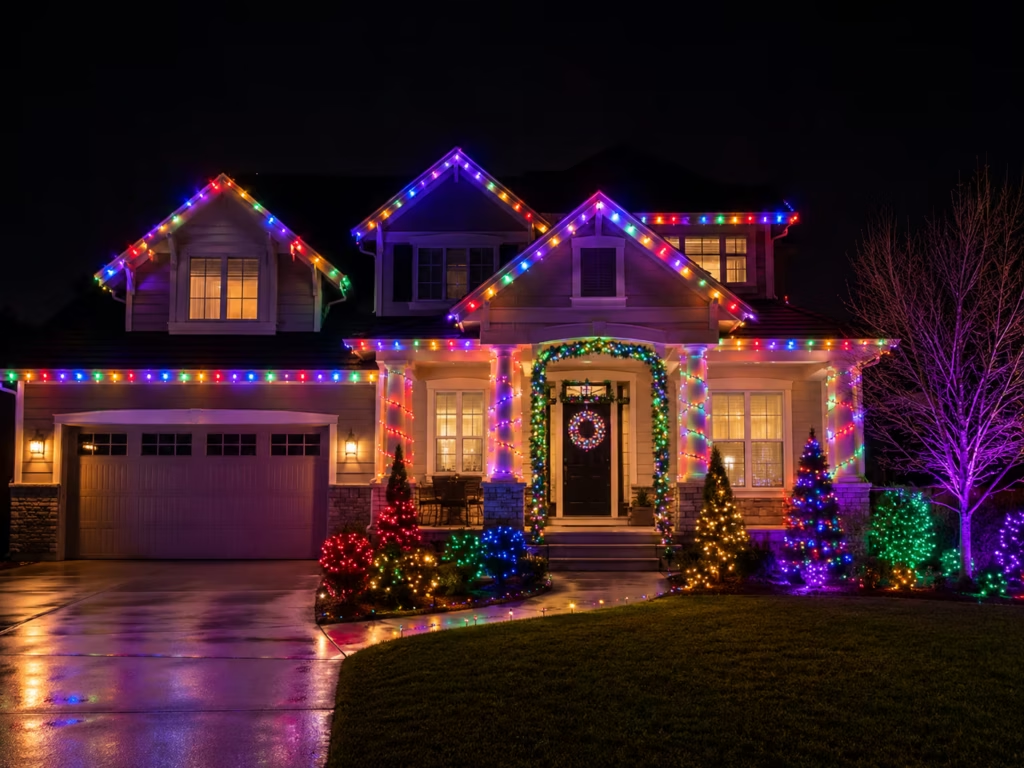
May combine:
Multicolor displays can be playful, but they still need structure.
We often recommend keeping one element consistent; for example, one bulb style across the roofline, even when the colors vary.
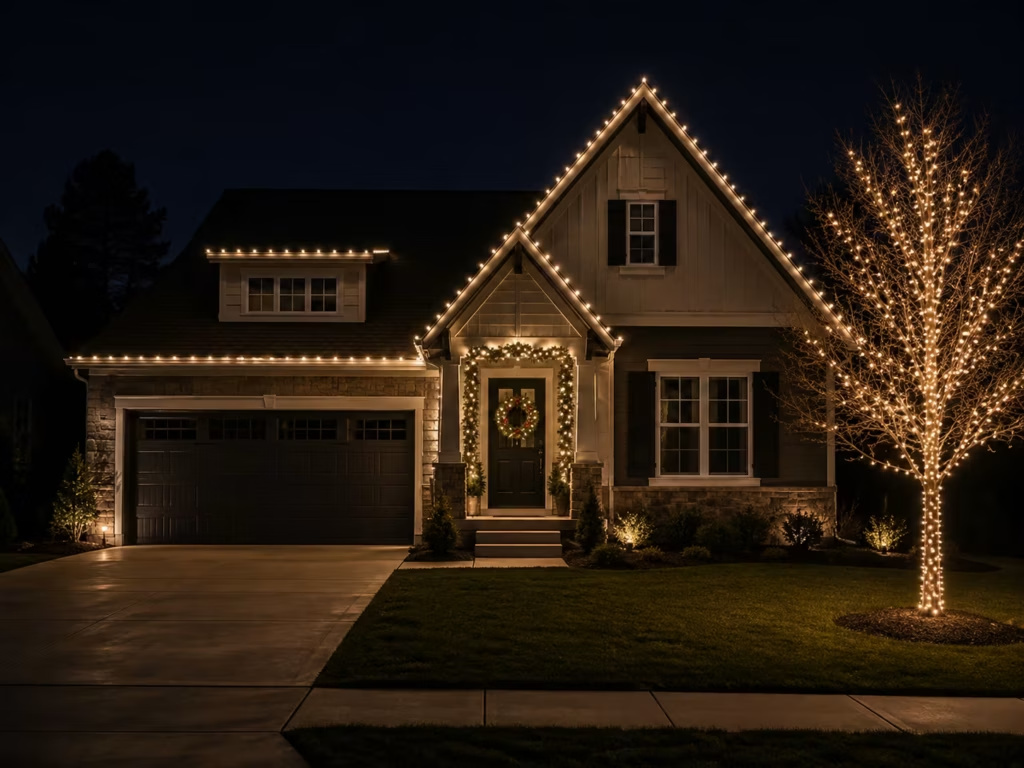
A minimal design might use only:
You do not need to illuminate every edge of the property for the display to feel complete.
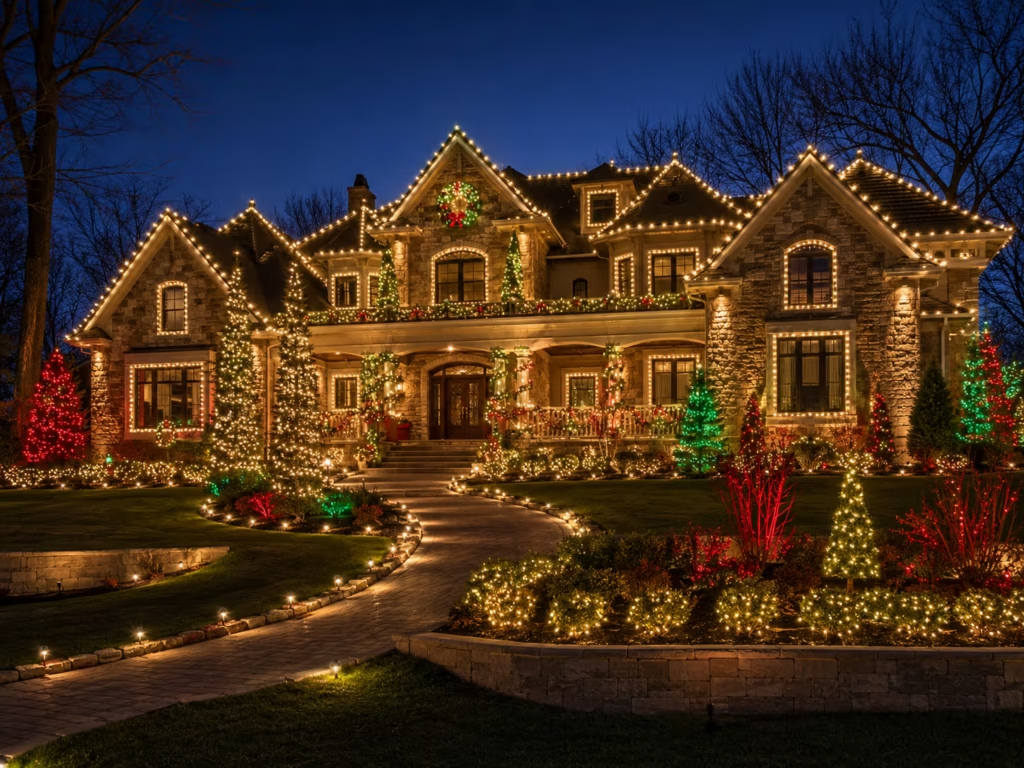
A larger plan may include:
At this scale, planning becomes particularly important because the lighting must work as one system.
For example, C9 bulbs can create a strong roofline appearance, while smaller string lights may work better around trees or railings.
Accurate measurements are one of the most important parts of Christmas light planning.
Measure:
For example, if a roofline measures 120 feet and your selected light strands cover 25 feet each, you would need:
120 ÷ 25 = 4.8
That means you need at least 5 strands, before allowing for connection requirements, layout adjustments, or extra length.
Different areas of a property work better with different lighting products.
Consider:
The important thing is to select products based on where they will be installed rather than choosing every light type simply because it looks attractive in the package.
Electrical planning should happen before installation begins.
Identify:
GFCI protection is important for outdoor electrical use where required, and manufacturers’ instructions should always be followed.
Never modify plugs, bypass electrical protection, or connect more products than the manufacturer allows.
When the electrical capacity or compatibility is unclear, a qualified electrician or experienced professional should evaluate the setup.
Your budget should include more than the lights themselves.
| Expense | What Affects Cost |
|---|---|
| Christmas Lights | Quantity, type, quality |
| Clips & Fasteners | Installation method |
| Extension Cords | Distance and layout |
| Timers | Basic vs smart controls |
| Replacement Lights | Damage or spare inventory |
| Professional Labor | Home size and complexity |
| Removal | Project scope |
| Storage | Optional service |
Many homeowners focus only on the price of the lights and forget smaller supplies such as clips, cords, timers, and replacement sections.
One of the easiest ways to create problems is to start installing before the project has been properly planned.
Avoid:
A good lighting plan doesn’t need to be complicated. It simply needs to account for the property, materials, power, access, and timing.
Many homeowners focus only on the price of the lights and forget smaller supplies such as clips, cords, timers, and replacement sections.
Planning early gives you more time to measure the property, compare products, and organize the installation.
Before the holiday season, consider:
There is no single installation date that works for every location because weather, climate, and local demand vary.
Good Christmas lighting starts with planning rather than installation.
Measure the property before buying lights, decide which areas deserve attention, and choose lighting products according to the surfaces being decorated. Rooflines may benefit from C7 or C9 bulbs, trees often work well with string lights, and shrubs can be efficiently covered with net lighting.
Share your thoughts below and let us know how we can help with your Christmas light installation project.
Get fast, reliable help with your Christmas light installation, featuring professional setup, secure installation, and expert support from start to finish.
